Dactyl Manuform 5x6 Build Log
- Motivation
- Ergonomic Dactyl Kailh Box Navy Jades Build
- Build Guide Information \& Tips
- Misc Advice
- Mistakes I made
- Helpful Links
Motivation
My main goal for this post is to simply provide a helpful supplement to other more detailed build guides.
Many of the build guides I followed while building my dactyl manuform skipped relevant information,
information critical to the function of the keyboard. My guess is that these guides assumed prior knowledge.
Ergonomic Dactyl Kailh Box Navy Jades Build
Features:
Hotswappable
Key Layout: QWERTY, maybe DVORAK
QMK Configurable
Kailh Box Navy
Parts and Materials
| Parts | Specs | Count | Price | URL |
|---|---|---|---|---|
| Keyboard Case | 5x6 Standard with Kailh Hot Swap | 1 order(2 pcs) | $85.00 | link |
| Diodes 1N4148 | 2368-1N4148-ND | 100 pcs | $4.24 | link |
| Kailh Hot-Swappable Sockets | holds switches in place for wiring | 1 order (100 pcs) | $14.50 | link |
| M3 Threaded Inserts | 1 order (100 pcs) | $13.89 | link | |
| M3 Screws assortment | M3 Compatible screws | 1 order (304 pcs) | $9.99 | link |
| Wires | Jumper Wires | 120 pcs | $6.98 | link |
| Elite-C V4 | USB-C Pro Micro | 2 pcs | $35.98 | link |
| Key Switches | NovelKeys x Kaihua Box Navy | 70 pcs | $29.40 | link |
| TRRS Jack | PJ-320A Jack - 3.5mm | 2 pcs | $1.00 | link |
| TRRS Cable | B07PJW6RQ7 - 5ft | 1 order (2 pcs) | $6.99 | link |
| Reset Switch | Reset Pushbutton Switch | 2 pc | $1.00 | link |
| Keycaps | Matcha ZDA PBT Keycap set | 1 order(124 pcs) | $32.90 | link |
| PCB (Optional) | Amoeba Single-Switch PCBs | 3 order(90 pcs) | $14.97 | link |
| Rubber Feet | Sticky rubber feet | 1 order (100 pcs) | $3.99 | link |
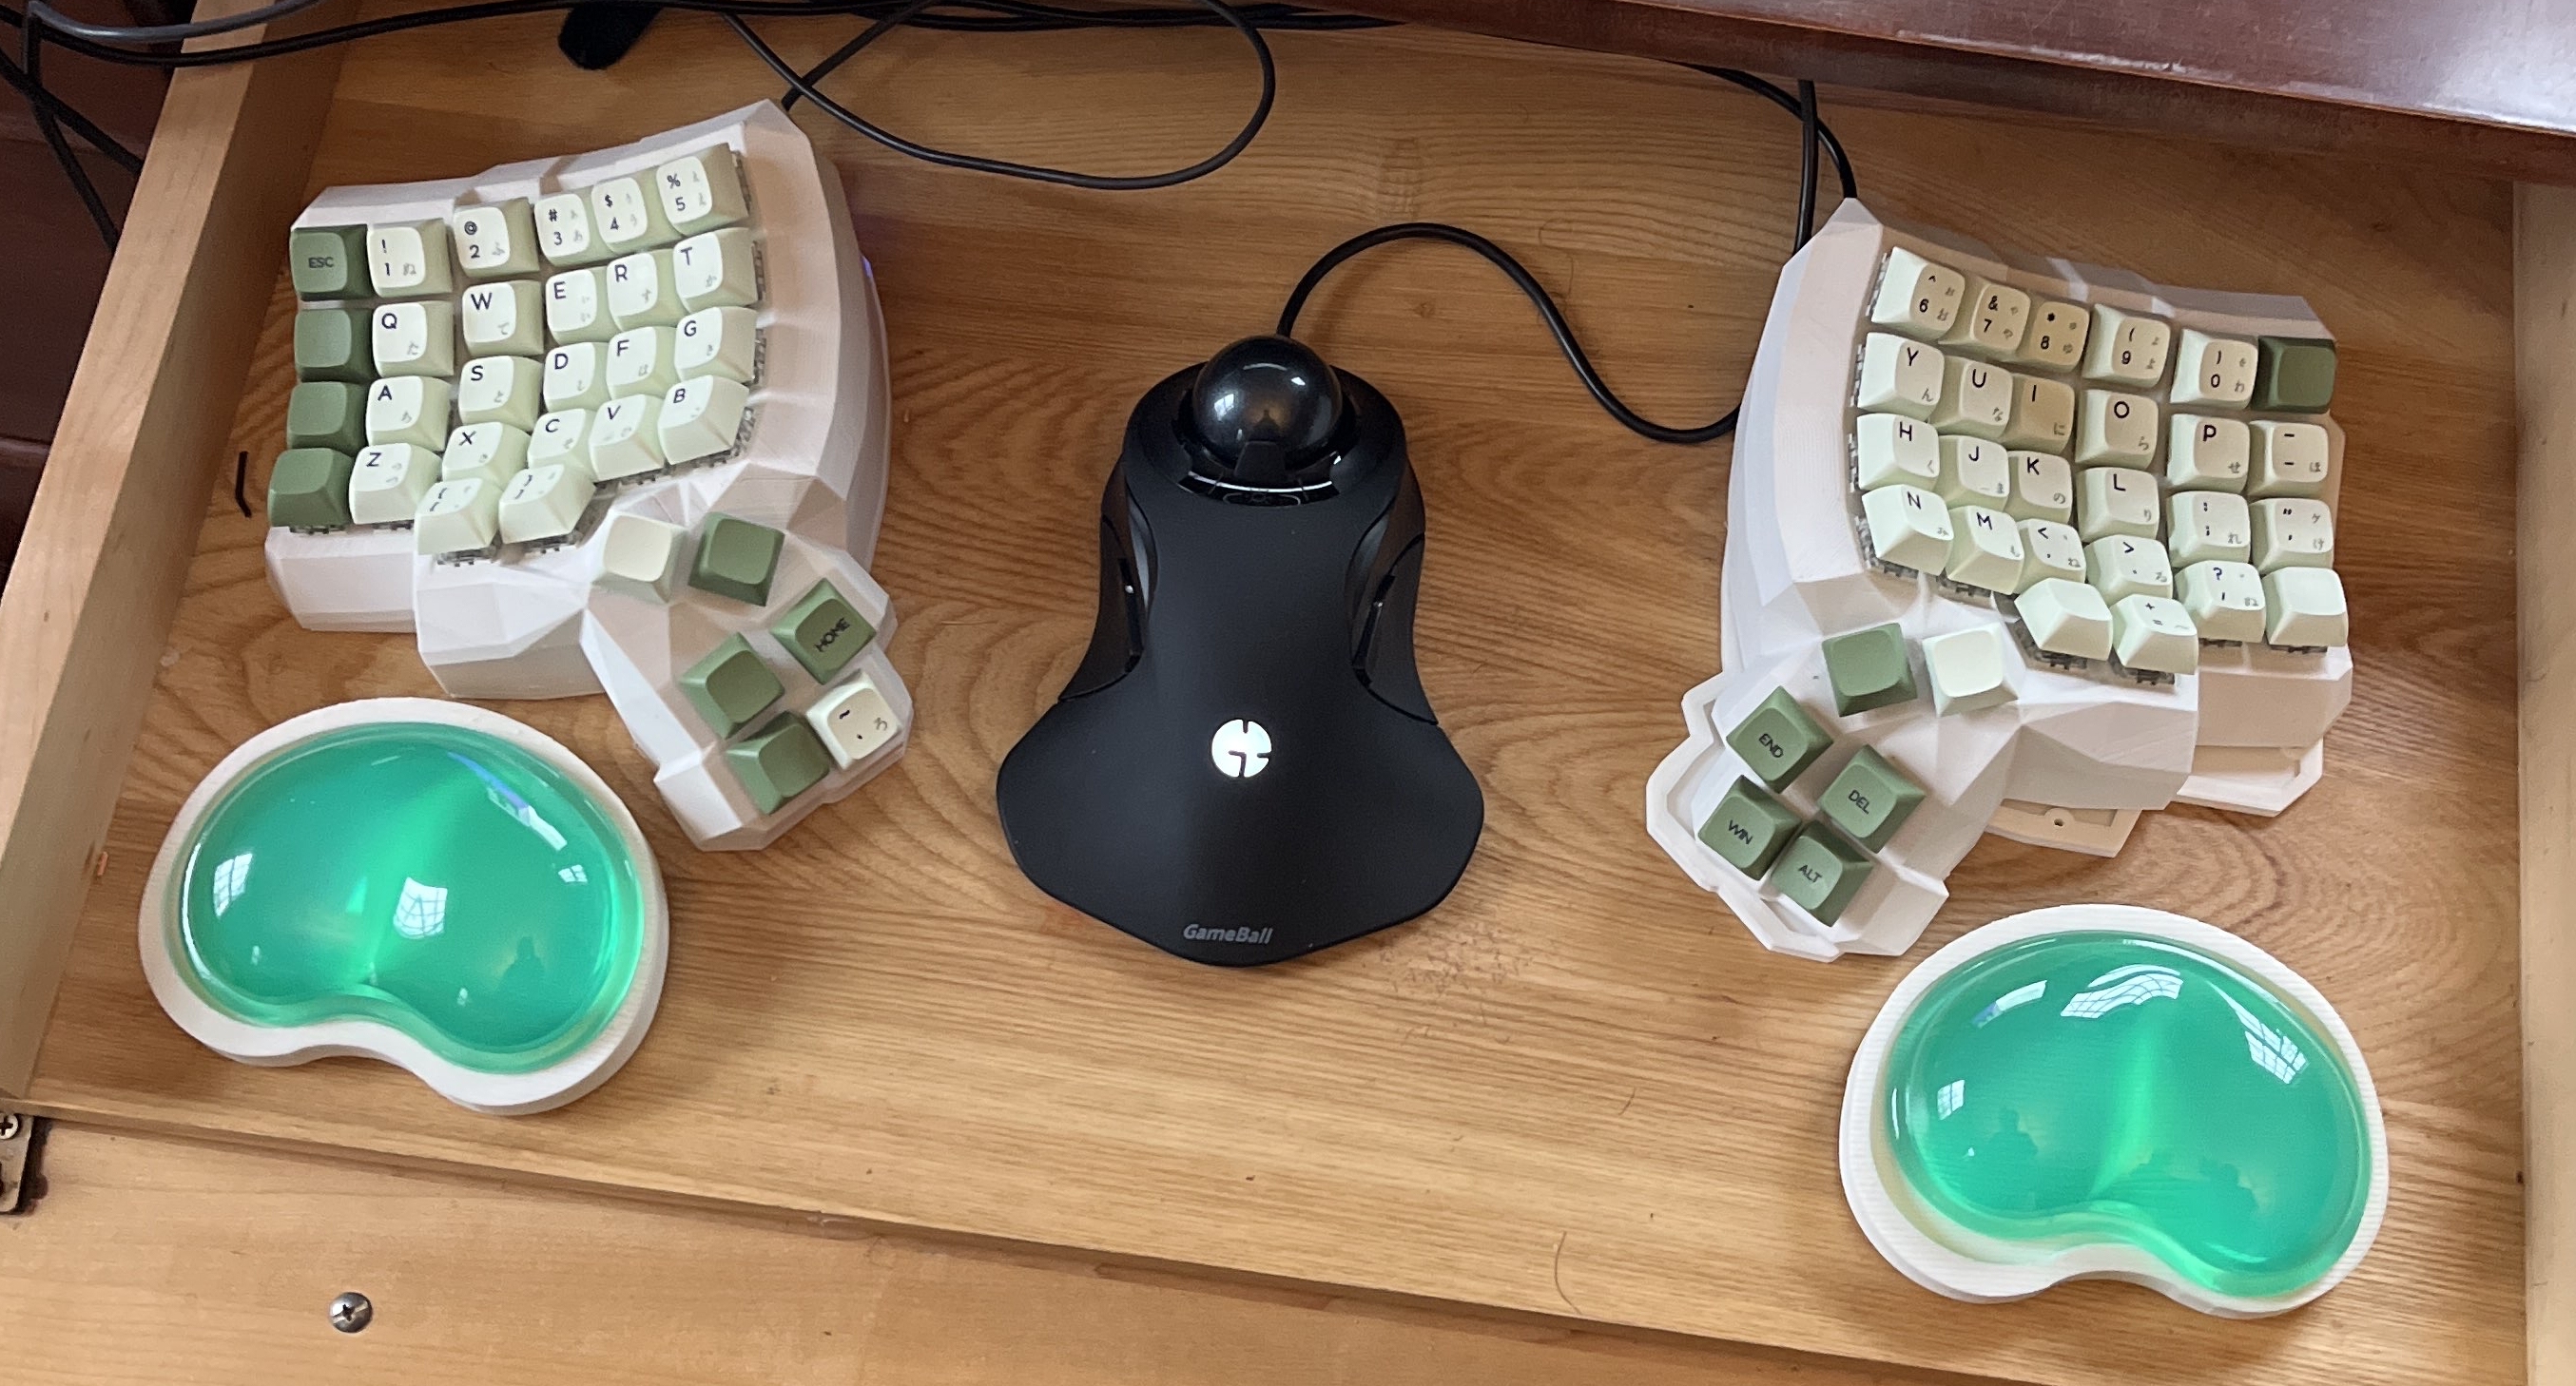
| Gel wrist rests (Optional) | Silicone Gel Mouse Pad | 1 order (2 pcs) | $15.00 | link |
| Wrist rests (Optional) | 3D printed wrist rests | 1 order (2 pcs) | $14.00 | link |
Total Cost excluding PCB not used in this build: $274.86 (Not including shipping and taxes)
Notes on Materials
- The switches you decide to use can change your total cost drastically.
- The key switches are where you want to ball out and pimp your keyboard.
- Research carefully and select the key switches you want. Switches.mx has great information on different switches. For example, this is the info they have on the Kailh BOX Navy.
- Make sure to listen to key switch sound tests and look at the force graphs to see the actuation points. This is especially important if you play games and want faster key presses.
- If you end up going with Alps switches make sure to get the proper keycaps.
- If you want to save some money buy most of the parts and materials on AliExpress but the downside of purchasing the parts on AliExpress is the shipping time, usually over 30 days or longer.
Tools
| Tools | Use Case | URL |
|---|---|---|
| Glue Gun | Glue things in place. | link |
| Rosin Core solder | Used for soldering. | link |
| Small fan | Stop fumes from going into your body. | link |
| Soldering Station | Soldering the metal contacts. | link |
| Soldering Pencil | Alternative tool for fine soldering. | link |
| Heat Insulation Mat | Used to organize tools and materials and prevent destruction of your table. | link |
| Helping hands | Extra hands are nice to have. | link |
| MX Switch opener | If you want to lube your switches. | link |
| Keycap remover | Remove Keycaps safely and efficiently. | link |
| Tweezers | Great tool for tiny maneuvers. | link |
| wire cutter | Cut wires. | link |
| wire stripper | Strip wires. | link |
Notes on Tools
-
I would advise going to a maker studio to build the keyboard as they will have many of the tools I have listed above but if you are going to build more things in the future I would recommend investing in some of these tools.
-
Do not cheap out on the tools if you decide to build at home because you will end up wasting your time which will make your build process painful and future projects a misery.
-
For the soldering tool I would recommend the Hakko station I linked above or better yet a soldering pencil because of the somewhat small soldering points; a fine tip for the gun or pencil helps dramatically.
-
Personally, I purchased a Hakko FX888D-23BY Digital Soldering Station and used my desoldering pump I purchased for my ECE class and the keyboard build was somewhat easy overall.
Build Guide Information & Tips
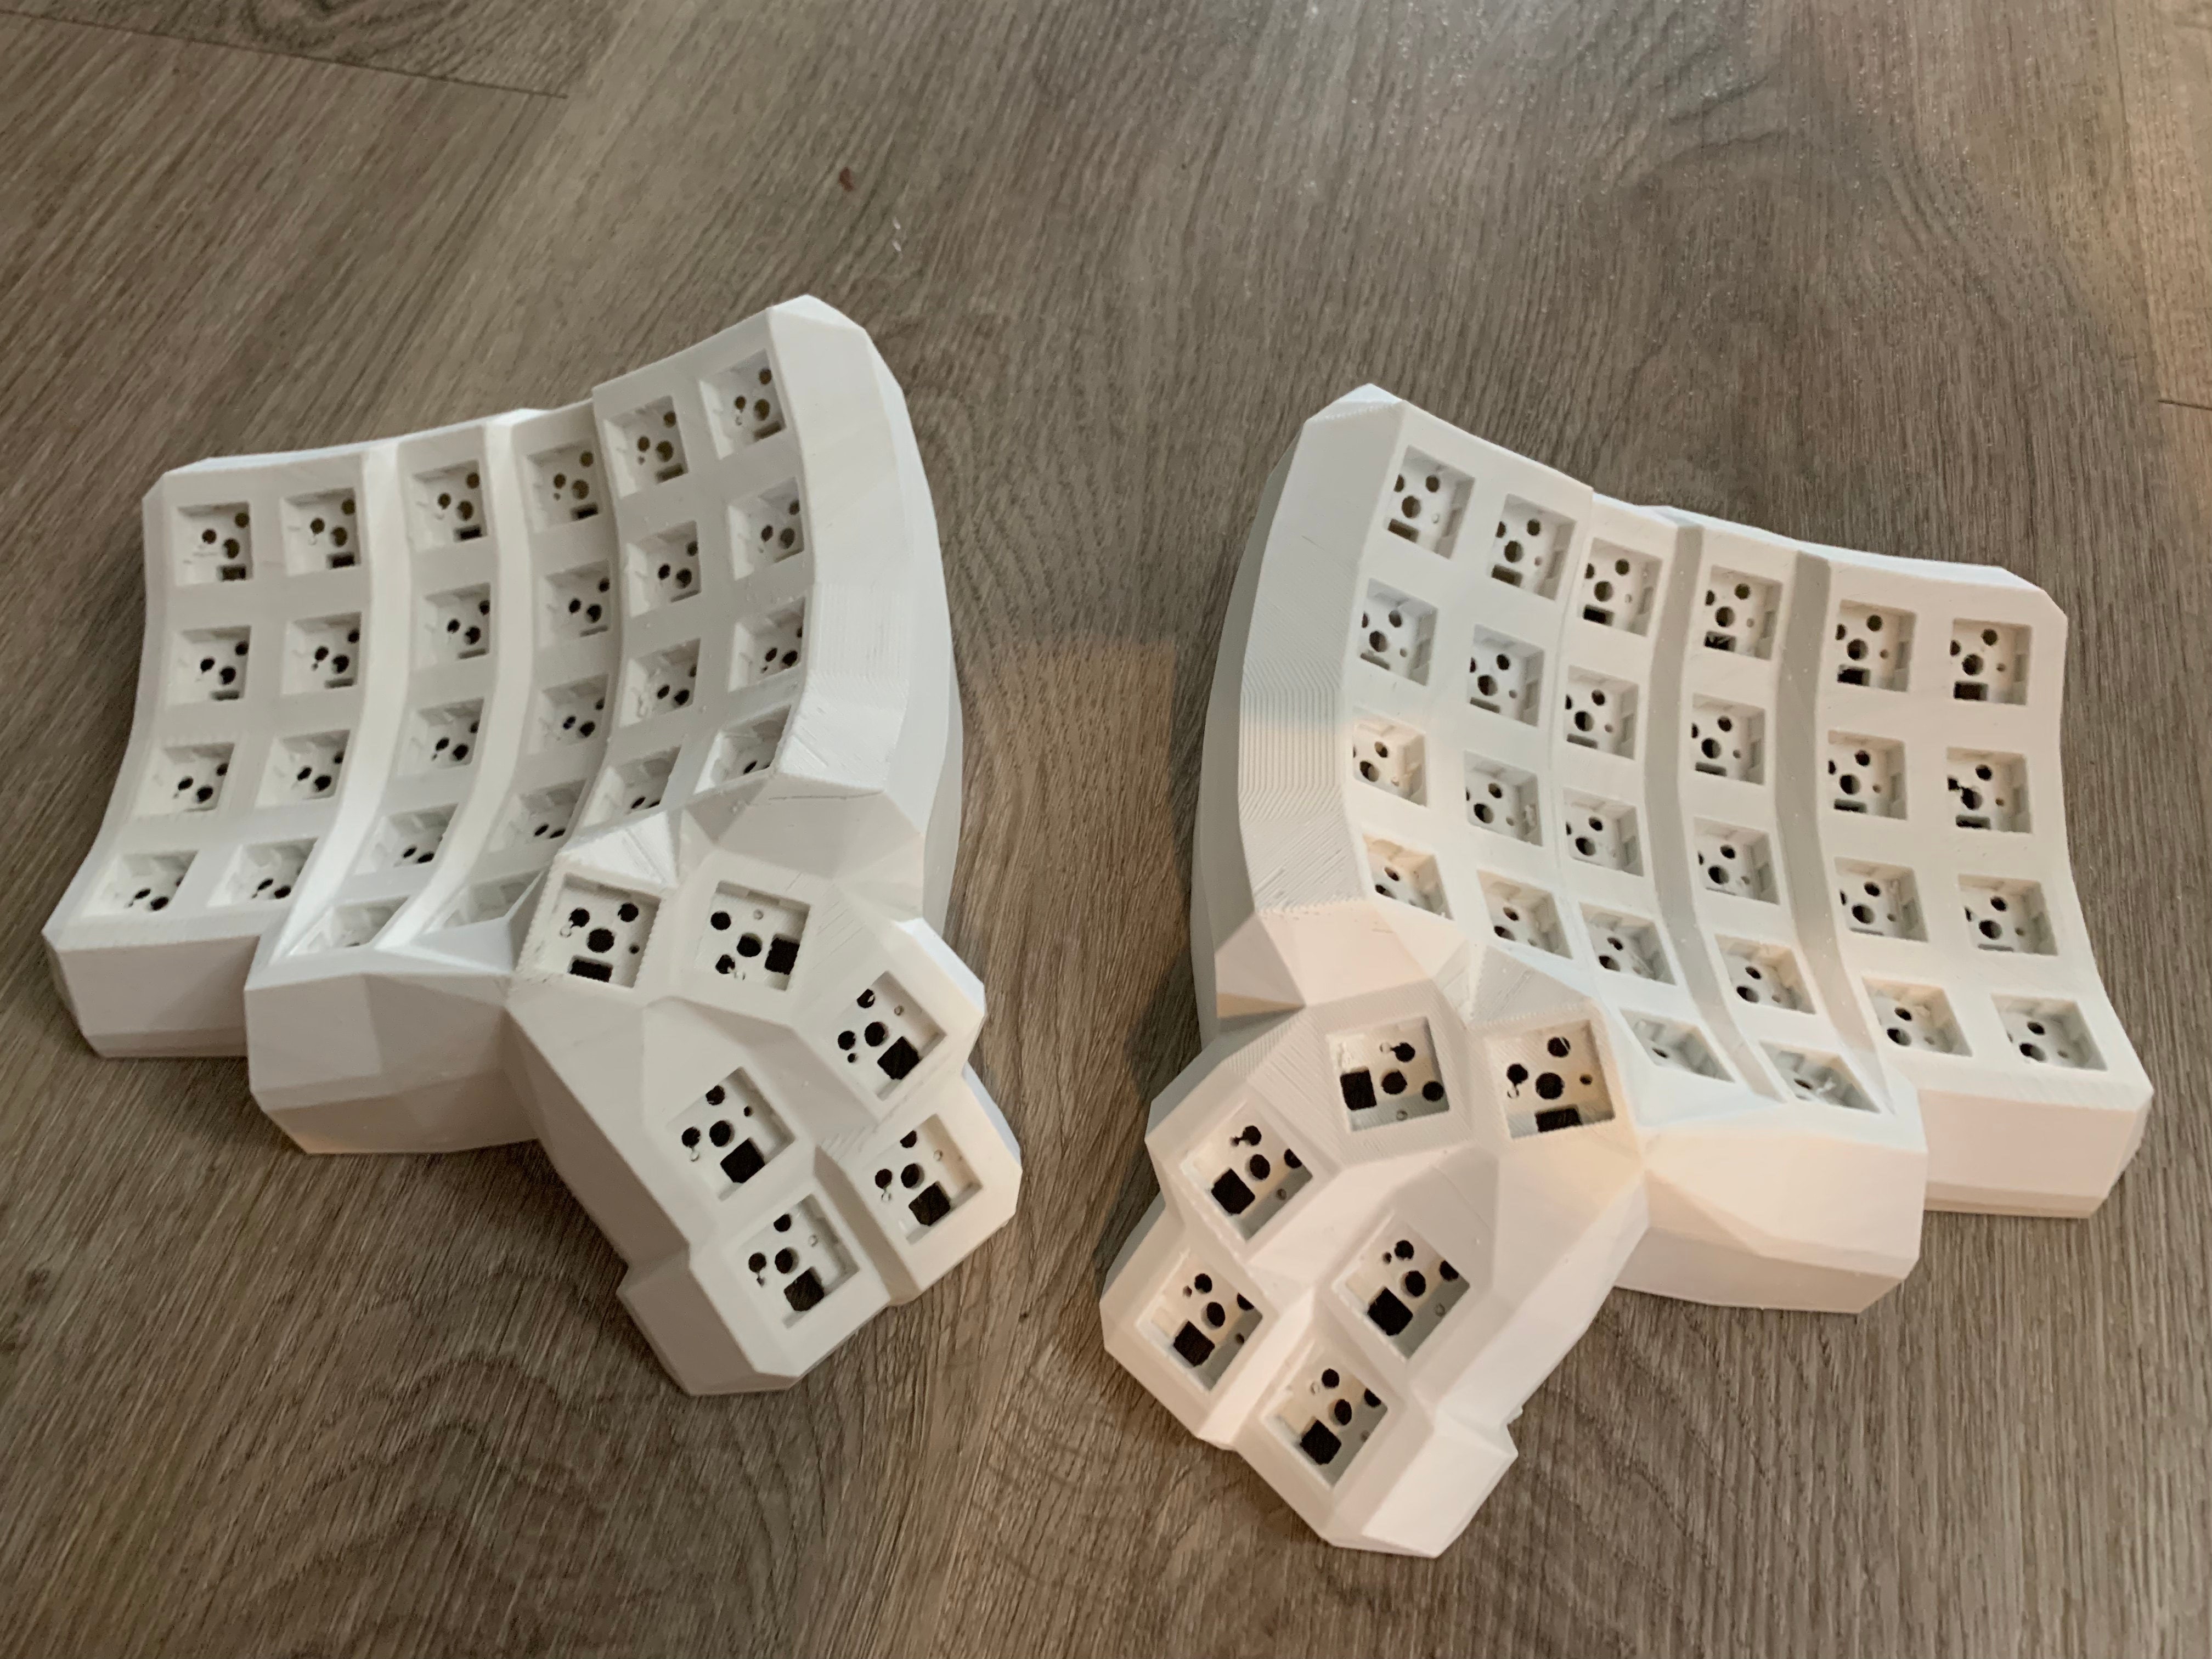
Initial 3D Printout

Wiring
- Follow Nick Green’s Build log to build the keyboard. As I said in my
initial motivation for this post, I wanted to create a supplement and point out caveats of the build process.
- His wiring diagram was probably the most important guide for my build. See the image below.
-
Follow aaronmak’s build guide to see how the Kailh hotswap sockets are setup.
-
If you buy the cheaper, regular (non-hotswappable) case from Andrew on Etsy.com which is what I recommend after completing my build, but you decide you want a hotswappable keyboard then I would highly recommend the Amoeba Single-Switch PCBs as the PCB enables hotswappability.
-
The only annoying part of the single PCBs from Keeb.io is that 1 order has 30 pcs and you need 64 pieces of the PCB for the dactyl build so you end up spending extra for the extra 4 PCBs.
-
FYI, I purchased the hotswappable case from Andrew on Etsy.com.
- If you decide to use the PCB do not break them into individual parts before attaching the switches to the PCB, attach the switches first and then break them apart.
See this Reddit thread for more help on the Amoeba PCB wiring setup with the dactyl manuform.
Compiling code for custom QMK keymaps
If you are on Windows follow the Windows tab from the following link in order to setup your build environment. Setup QMK build Environment
I used: Setup QMK and QMK toolbox on macOS
/bin/bash -c "$(curl -fsSL https://raw.githubusercontent.com/Homebrew/install/HEAD/install.sh)"
brew install qmk/qmk/qmk
Make sure to read the output from the installation of the QMK software installation. It will inform you if you need to install any additional dependencies necessary for building and compiling your .hex file.
brew install neovim
Use the text editor to edit the keymaps and compile to create the .hex file.
Flashing
Install QMK toolbox The annoying thing on Windows is that every time you connect the Pro Micro by USB the OS thinks it is being “smart” by automatically installing drivers for the Pro Micro so you have to be physically fast clicking on flash in order to flash the hex file before Windows recognizes the chip as a different device.
You do not have to install QMK toolbox if you don’t want to as QMK supports flashing the hex file you generate from the command line. QMK toolbox is just easier and less error prone.
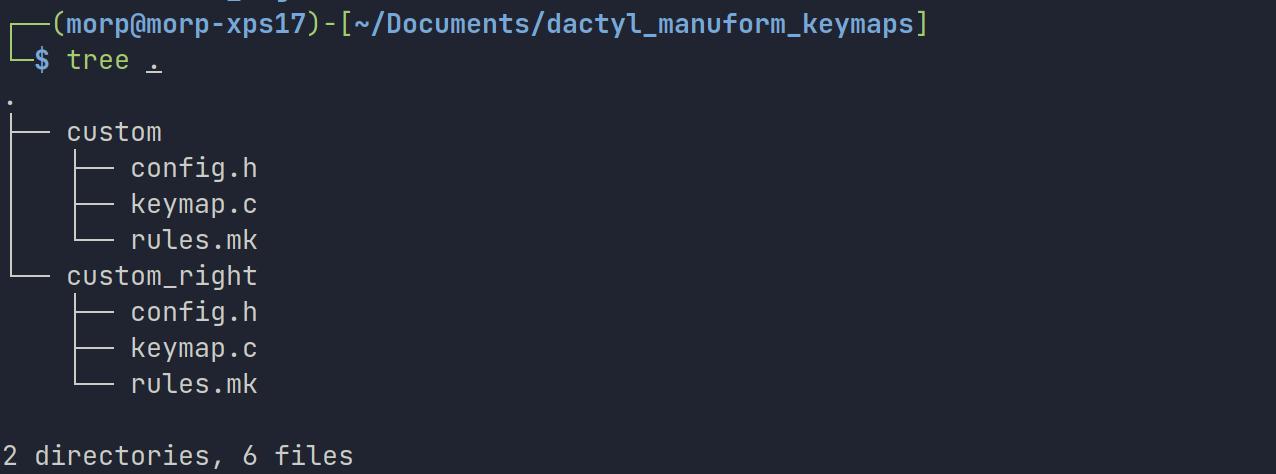
qmk compile -kb handwired/dactyl_manuform/6x6 -km custom;
qmk compile -kb handwired/dactyl_manuform/6x6 -km custom_right;
-
These two commands will create 2 hex files and place them in $QMK_HOME directory.
-
Use the QMK toolbox GUI application to flash these hex files on the left and right Pro Micros.
-
If you don’t want to edit any code use QMK’s Online Configurator to create the hex files.
Personal QWERTY Keymap for Dactyl
-

-
Follow balatero to flash the QMK firmware on the Pro Micros. David Balatero’s Flashing Guide and Keymap setup
-
Make sure that you connect both halves with the TRRS cable before connecting the USB-C cable to your computer.
-
Important flashing info provided by Nick Green:
Try loading the default hex as shown by the GUI, connect the left half to USB, with both halves connected together. Short the VCC and a GND port to put it in bootloader mode, and immediately hit flash in QMK Toolbox. Then, disconnect the left half and flash the right half the same way, with the same file. Then connect the left half again, and you should be getting letters when you type.
Final Setup

Misc Advice
-
Enable EE_HANDS in the rules.mk in the directory for the left half.
-
Add a reset key known as RESET to a layer through the QMK firmware. This allows you to put the keyboard in flash mode using a key press on the actual keyboard.
-
Use the jumper wires I linked above as the wires you connect to the Pro Micros and PCB or the hot swaps or directly to the key switches if you decide to not go for a hotswappable build.
-
If you decide to directly solder the switches make sure to get glue sticks the glue gun I linked above has plenty of glue included.
-
You will also want NKRO (N-Key Rollover) to prevent ghosting — letters missing from what you actually typed, or additional letters that you didn’t type. NKRO should be naturally possible if you add a diode to each key switch. You will also want to enable NKRO in the keyboard’s firmware by editing the rules.mk file in both of your custom folders.
-
A regular aux cable will not work because it is a TRS cable and you need a TRRS cable in order to transmit data signals between the two Pro Micros.
-
If you are building the dactyl manuform you have the option to use an RJ-9 female to female connection to connect the two halves. If I had to start over I would have gone with this approach because you don’t have to remember to always connect the two halves first before connecting to your computer.
Mistakes I made
Getting the case printed without the Kailh Hot swap holders and buying the Amoeba PCBs which I ended up not using.
This would save some money. Also the plastic holders in the hotswap case 3D printed by Andrew
did not really hold the hot swaps in place well, they occasionally fell out.
Helpful Links
QMK Firmware Repo
QMK Official Documentation
QMK Online Configurator
Nick Green’s Build log
David Balatero’s Flashing Guide and Keymap setup
Handwiring Guide
Resources Gist
